Showing posts with label Maintenance Building. Show all posts

Wednesday, March 16, 2016

Projects around the shop

With how wet we have been in the last few days, we decided to tackle a few projects around the shop vs. tracking up the golf course with ruts and mud.  The first project was solving a water issue at the shop, every time we had a hard rain, water would get into our break room.  The slope of the pavement would funnel all the water towards the front door, causing water to seep under the door.

We decided to install a retaining wall, keeping the edge about 1" higher than the pavement.  This will keep the water from getting to the building, making the water run along the wall and down towards the drain.
 
The project we tackled this morning was hanging the old front entrance sign on our barn.

With the history of the sign, I didn't want to throw it away.  We thought of possible locations and uses for the sign.  We decided on the wall of the barn is the perfect place to welcome people in to the shop and also showcase the history of the club.

Monday, January 5, 2015

Shop floor

Over the holiday break, our Equipment Technician - Jim Otley, painted the shop floor with the latest product from Sherwin Williams. 

 
If you recall, we painted the floor two years ago. It held up relatively well, but with all the equipment we bring in on a daily basis and with the wear from the lift, the floor was starting to look wore down again.  This new product looks great and should hold up better to the traffic.  For those of you that are interested in painting your garage floor, I'll let you know how it holds up over the summer.

Thursday, May 22, 2014

Visitors

We had some unlikely visitors at our shop today.
 
A mother Mallard and her brood of chicks!
They decided to stroll through our shop and check out every room.

After a little coaxing, they headed out for the driving range.

That will brighten anyone's day.


Tuesday, February 18, 2014

Gas bill savings

Believe it or not, we have been saving a significant amount on our gas heat bill this winter compared to last winter (at the maintenance shop).  How is that possible, with near record lows for the last 2 months?  If you remember last winter, the Grounds staff installed an adequate ceiling in our shop and added insulation.


Compared to past years, we are saving around $500 a month on our heat bill during the winter months.  When we did the project last winter, I stated in my posts that these types of projects would be worth the cost because of future energy savings.  One comment I heard was "That's good and all, but how long is the payback period and is it worth the time and expense?"  The payback period was 1 year.  I can't wait to see the low heating bills on a "normal" winter.

See my "Rainy day project" post from November 2012 under the Maintenance Building label.


Monday, November 11, 2013

Halfway house

The 15th hole snack shack project was completed this week, it looks great.  This is going to be phase 1 of a multiple phase project.  Next year we hope to place a stone veneer on the outside of the building to match that of the 1st hole watering station.

This building will be painted inside and out next spring.


Tuesday, January 22, 2013

Old pictures

I found some old pictures of what the shop looked like about 15-20 years ago:


And here is what it looks like today:


Shop renovation

Then past two weeks, part of our attention has been spent on renovating the workshop within our maintenance building.  We started this project before the rains hit 10 days ago, we knew it would be to wet to get anything done on the course, so we decided the timing was right.   We did a total transformation - taking everything out of the room, cleaning, painting and reorganizing items as we brought them back in.  Here is some idea of what it looked like before:


When I took these pictures, we had stuff laying all over because we were cleaning out our parts room.  Normally it doesn't look this cluttered, but it does give you an idea of the feel of the room.


Below is the process we took to get to the finished product:

Before we started.

Taking everything out of the room.

Taking the old insulation down from the ceiling.

Adding plywood and decent insulation to the ceiling.

Cleaning everything, Eric is cleaning the duct work.

Painting the ceiling with a sprayer.

Painting the walls.

We painted the equipment lift black and the floor was painted with an epoxy.

Finished product looks great.

We started using it today.

Wednesday, November 14, 2012

Rain day project

This past Monday was another rainy, cold and windy day.  We got .6" here at the course.  As stated in an earlier post, we are now into winter projects and when we can't be outside - we get things done inside. 

Our maintenance building has a room for chemical storage.  It also houses other items such as hoses, paint, rope and stake along with all our course supplies such as flags, flagsticks and tee markers.  This room needs to be kept at or above 40 degrees.  Many of the chemicals that we store can not freeze or they will lose their effectiveness.  We do have a very efficient heater in that room which does a great job at warming up the room, there was only one problem - it never stopped running.  While the walls are insulated around this room, the ceiling was not.  In fact there was not a ceiling, it was wide open up to the metal roof.  All of our heat was escaping very easily out of the building.  The past two days we put up plywood for a ceiling in this chemical room along with insulation on top of the plywood.  I went in the room this morning, usually I would find a drafty room with a the heater running.  Today I found a warm cozy room with no drafts and THE HEATER WASN'T RUNNING!

There was no ceiling, only a metal roof.  Very inefficient.

First thing we had to do was get rid of the junk stored in the rafters.


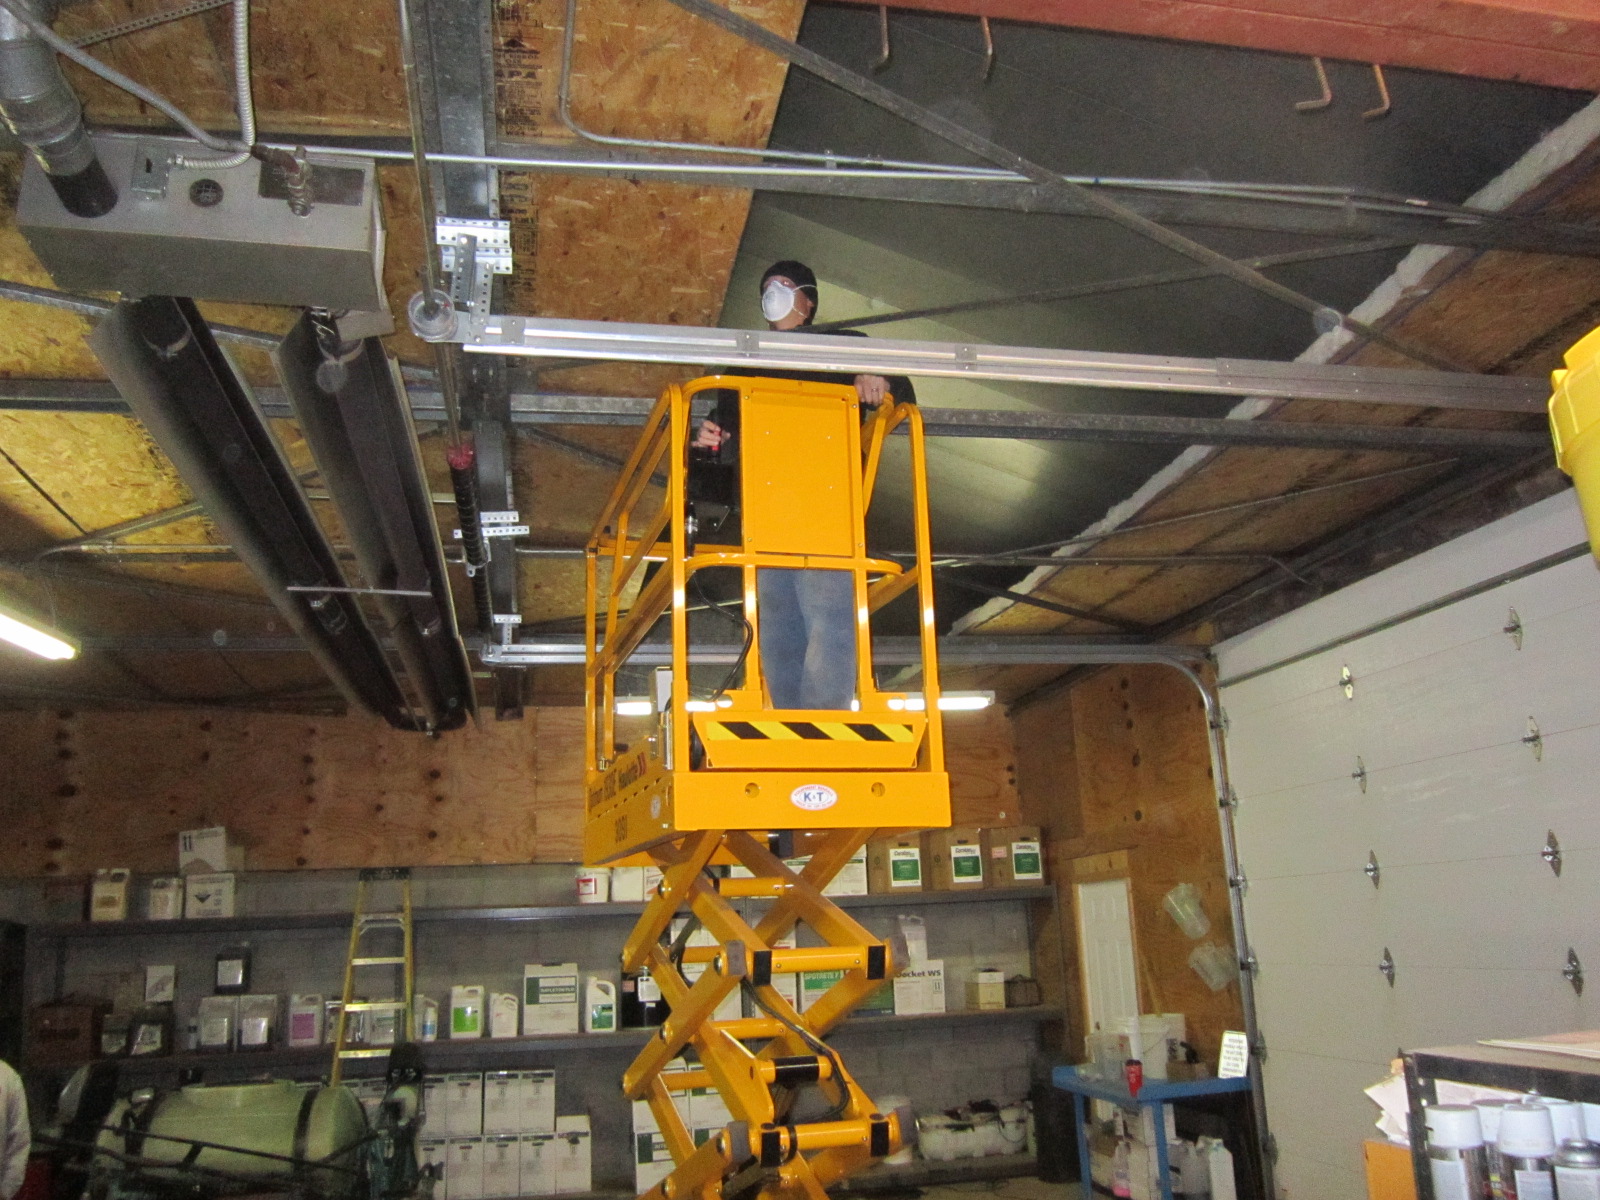
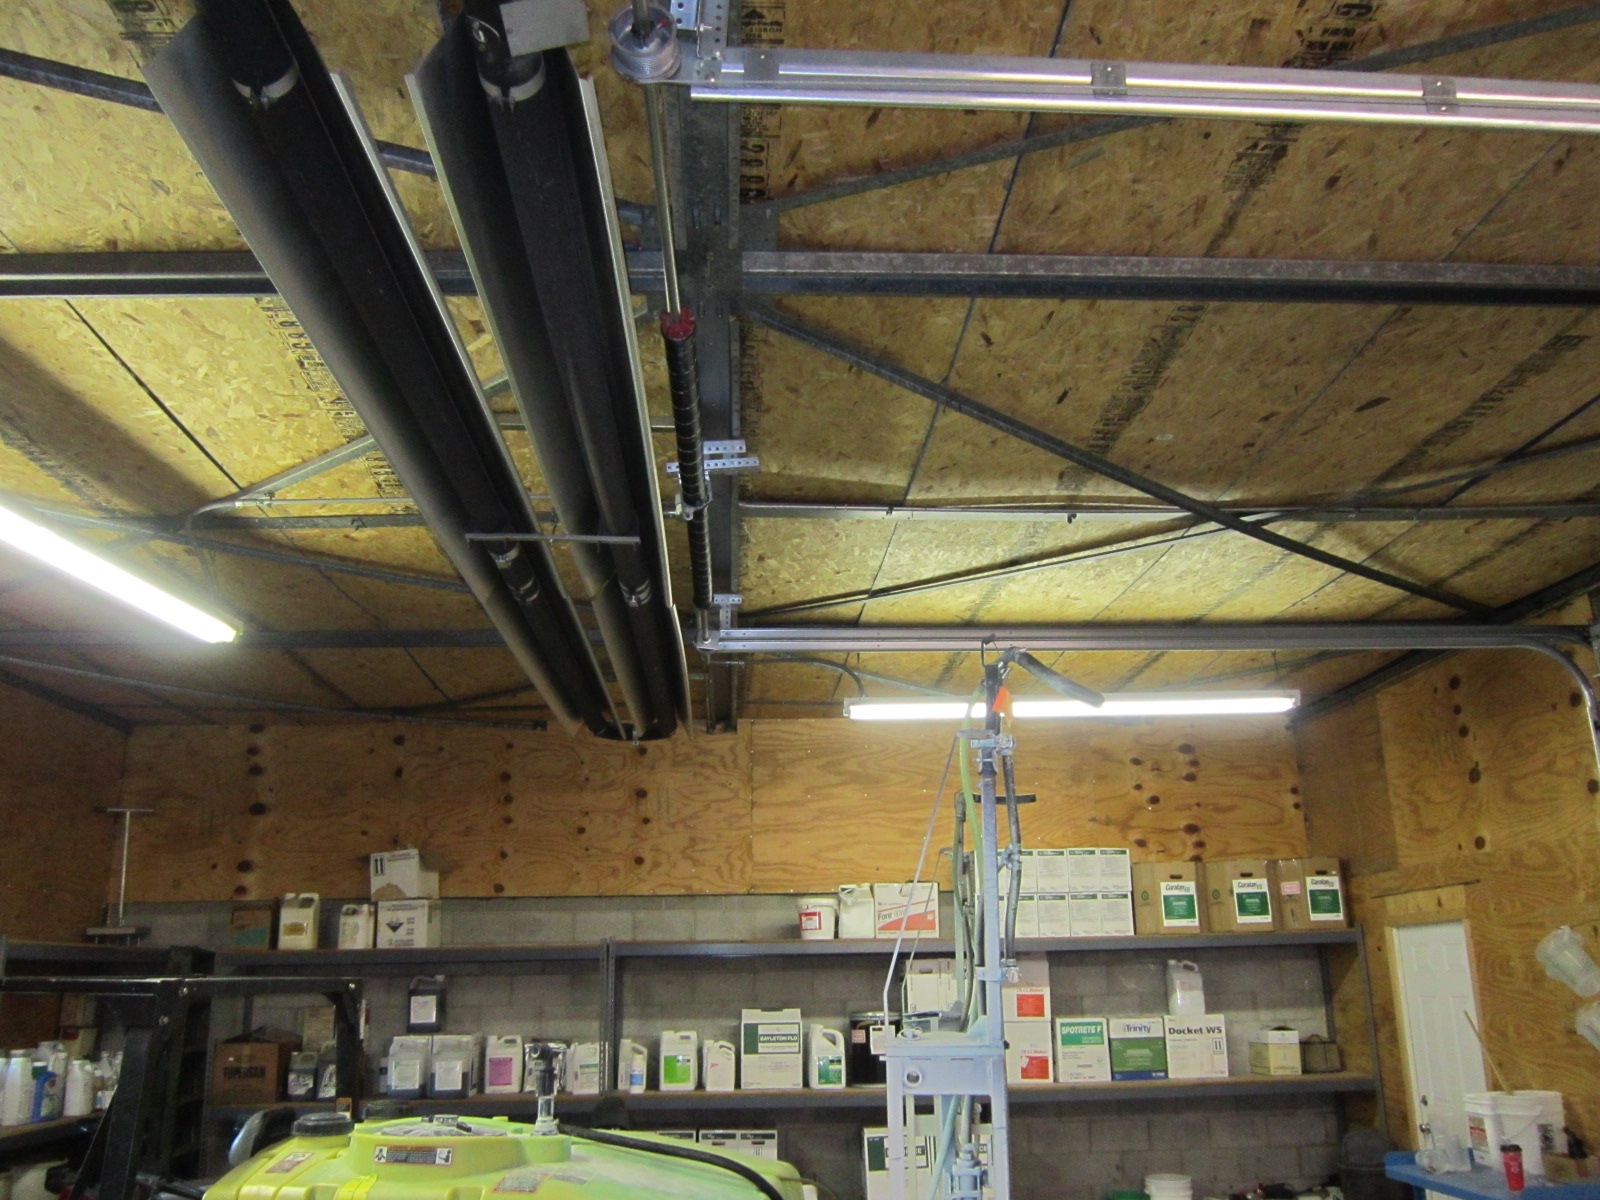
We then put up plywood and insulation.


We had to rent a lift to get the job done safely and quickly.


Finished job.  I can tell a big difference.

These types of projects are not budgeted.  Throughout the year we have been able to save money and stay under budget.  If I continue to stay under budget over the course of a season I like to tackle projects such as this.  These types of projects might not show immediate returns to the members but in the long run will only benefit the operation.  The cost of this project was relatively low compared to the savings we will see in energy costs.

Monday, November 12, 2012

Parts room

We are getting into the time of year that we are routinely getting days where we cannot perform any maintenance out on the course due to rain, wind and cold temps.  During these days all the part time seasonal help is sent home and it gives the full time employees an opportunity to start working on our typical winter projects.  Over the past few weeks on rainy days we have been spending some time on our parts room.  This little room needed a complete makeover.  We had parts to machines we haven't owned in some time and the shear volume of parts made finding what you were looking for cumbersome and inefficient.  We now have a parts room where we only have on inventory the necessary parts, they are labeled, clean and organized.
First we had to take all the parts out of the room.

It's amazing how much stuff can fit into a 8 X 10 room.

We then put up plywood on all the walls.  It was just open insulation.

Next was a nice looking coat of paint.

We spent a lot of time going through all the parts, categorizing them and throwing away the junk.

We now have a clean, organized parts room.  We can find items efficiently and we no longer have parts on inventory that we don't need.  A clean shop is a happy shop.